Tuesday, January 31, 2012

Soft Blackish Green Smokey Eye

This is a Soft blackish Green smokey eye I did yesterday. I like to wear this look often its simple and subtle to wear everyday if you like. This is how I did this look. ENJOY!


Step 1


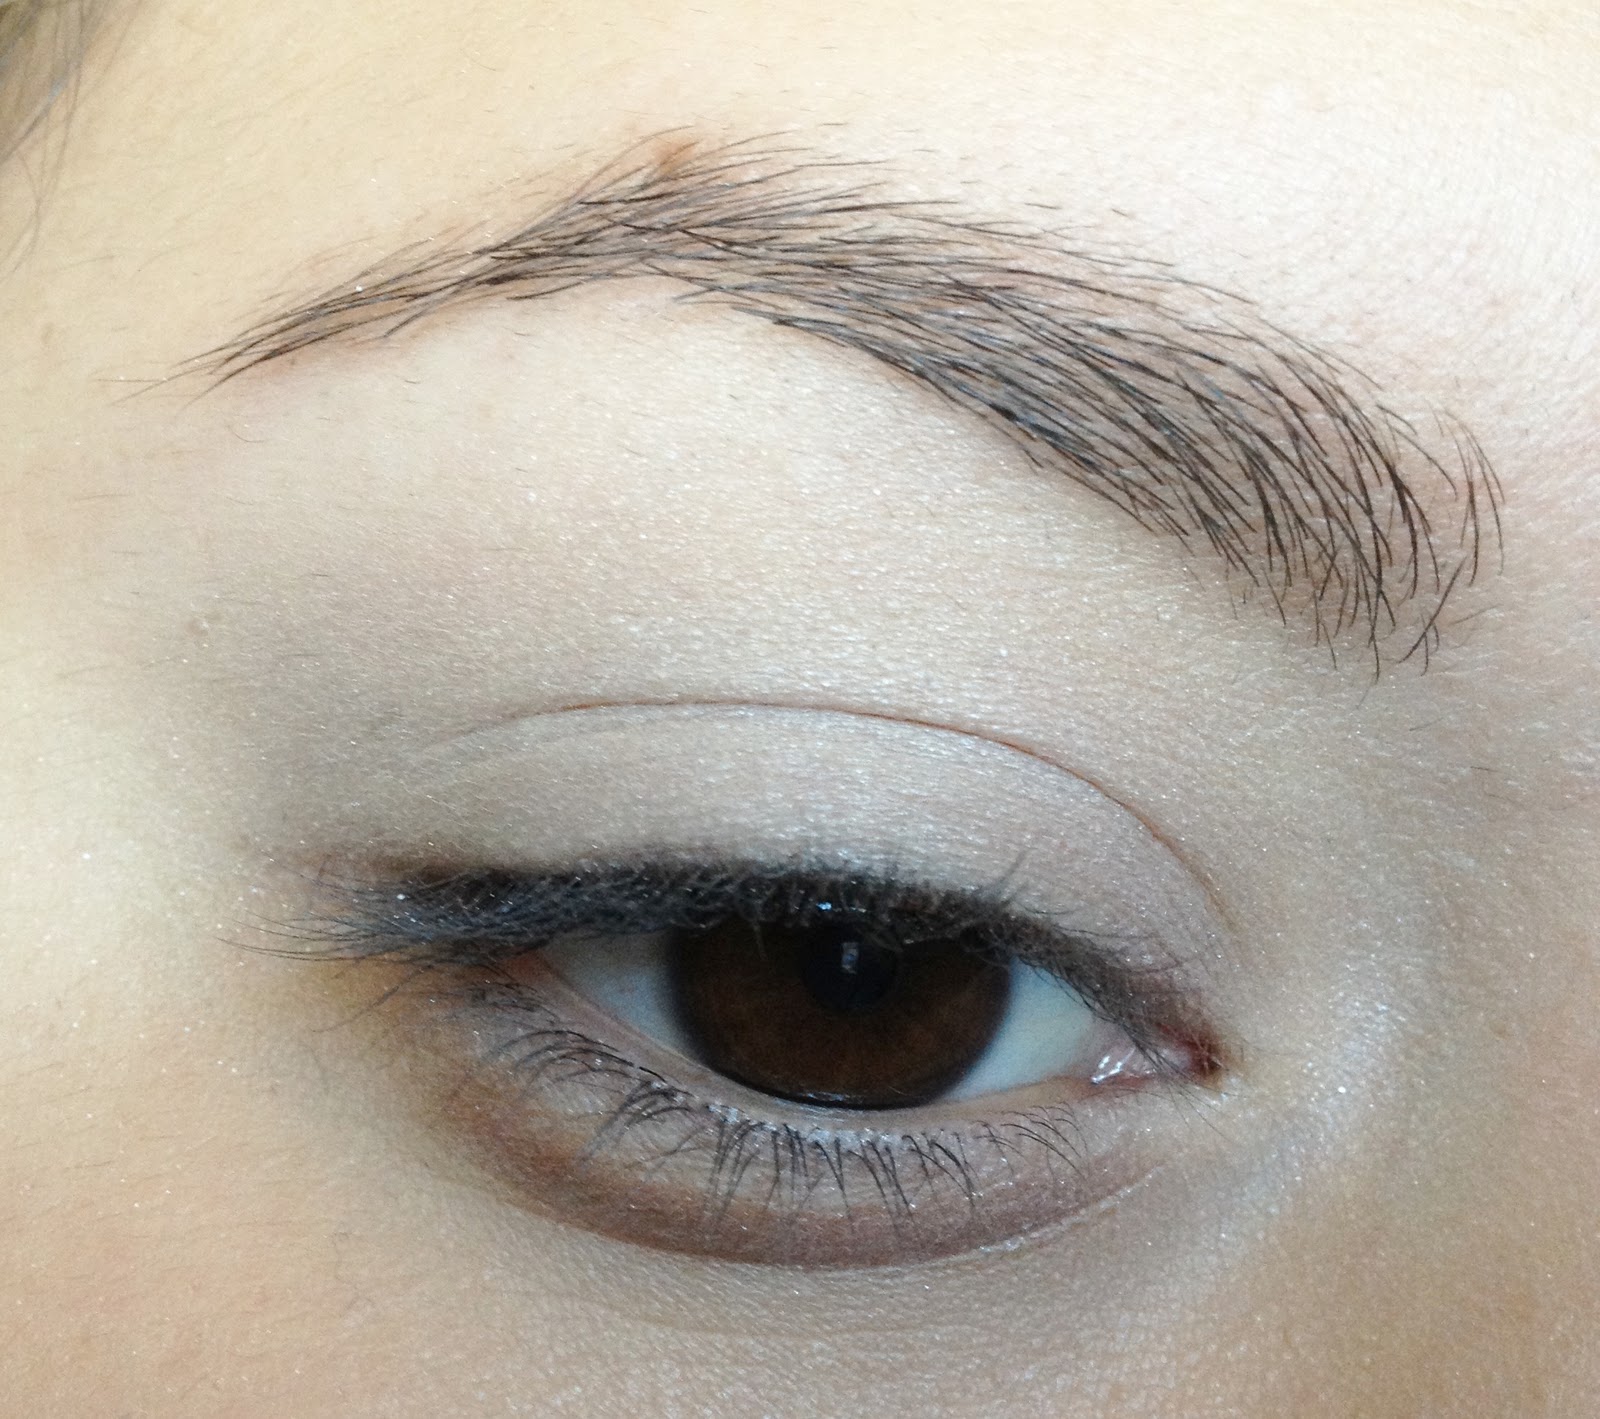
First, I primed my eye using Elf's $1 eye primer and I also placed Still Glamorus Cosmetics matte shadow in "Cream" all over my lid.

Step2

Using a soft crease brush I placed Ulta's "Rose Dusk" in my crease

Step 3

Make a small wing using any color you like. I used a dark green liner form Urban Decay in "Stash" This will just help your look not be completely black. Another great color to use would be any dark purple :)

Step 4
With a small pencil brush I blended out the liner to make it softer. If you happen to blend it out too much, don't worry just repeat step 3 and continue to blend.

Step 5
To intensify the green I added this green from my L'Oreal Hope Palette in "Sentimental Splendor" The color name itself was not listed on the palette so I apologize for that. Place this color over the green liner to set it and i also placed this on my bottom lash line.

Step 6

Just like in step 3, make a smaller wing using any black liner. I'm Using my Estee Lauder Double Wear eyeliner in "Onyx" I love this liner!! I also lined my water line on the top and bottom.

Step 7
Its good to set your liner to make sure it stays in place. I used an angled liner brush to place "Creep" from my Urban Decay Naked Palette over my black liner.

Step 8
 Lash time!! I just wanted to intensify they outer part of my eyelashes so, I cut my false lashes that way I just have a little extra at the ends. I like to use 2 different mascaras to do my lashes. Make sure to blend your real lashes with the false ones using the mascara and curl.

Last but not least Step 9!
I placed "Sin" from my Urban Decay Naked palette on my tear duct and on the inner third part of my lower lash line.


I Hope this was helpful!! Thanks so much for reading :) 
Have a great day
Stay happy, healthy, and beautiful!

XOXO Renee!

Read More

Valentines Day is almost here!


Valentines Day is coming up and I know you ladies want to look extra glamorous for your boyfriend/husband or even just to have a night out with your girls. I'm going to be doing different makeup looks these coming up weeks as well as a couple nail looks. I plan to do some nice romantic looks, sexy looks, and even some dramatic, and natural. My Birthday is coming up on Thursday so I'm excited to even do a birthday look!! 

If you have any suggestions on what looks you would like to see I would be more than happy to do them :) I want to have fun with these looks and I want you to have fun and enjoy them with me! 

Have a great day everyone!! 
Stay happy, healthy, and beautiful

XOXO Renee! 


Read More

Friday, January 27, 2012

Tips & Tricks: How I remove glitter nail polish


Do you love wearing glitter nail polish but hate having to remove it?? I DO! well I discovered this awesome way to remove glitter polish easily and mess free. These are the materials you will need. 

To remove glitter you will need to use 100% pure acetone. The one I am using here is the professional one from CVS and I believe I also bought my cotton balls from CVS as well. The foil is regular cooking foil just cut up into 10 small squares
Make sure to cut the foils prior to getting started.

Step 1

Soak the cotton ball half way. (I dipped the bottle 2 times with cotton ball)

Step 2

Place the cotton ball in the middle of the foil square with the soaked part facing upward.

Step 3 


Put your nail directly on top of the cotton ball and begin to wrap the foil around your finger. 
If you are curious what polish this is, I am wearing OPI Hows it Snowin? 


Continue these steps to the rest of your fingers. I like to do one hand at a time. I found it hard to get the foil wrapped around tight when trying to do the opposite hand.
Your hand will look like a monster but its ok! haha my husband gives me funny looks when he sees me doing this.  ;)


Wait about 2 or 3 mins before trying to remove the foil. 
When you are ready to remove it, Grab the tip of the finger and start to twist the foil and cotton together. This will help to make sure all the polish is off. Then pull off. You should end up with something like this.


You'll notice that all of the glitter was left on the cotton ball and none on your nail. Cool right!? :) 

I wouldn't recommend doing this often because the acetone isn't healthy left on your nail for too long but doing this once in a while wont hurt. 

Thank you so much for reading <3 Stay happy, healthy, and beautiful ladies :) 

XOXO Renee
Read More
Theme images by merrymoonmary. Powered by Blogger.

© 2011 That's So Renee, AllRightsReserved.

Designed by ScreenWritersArena